

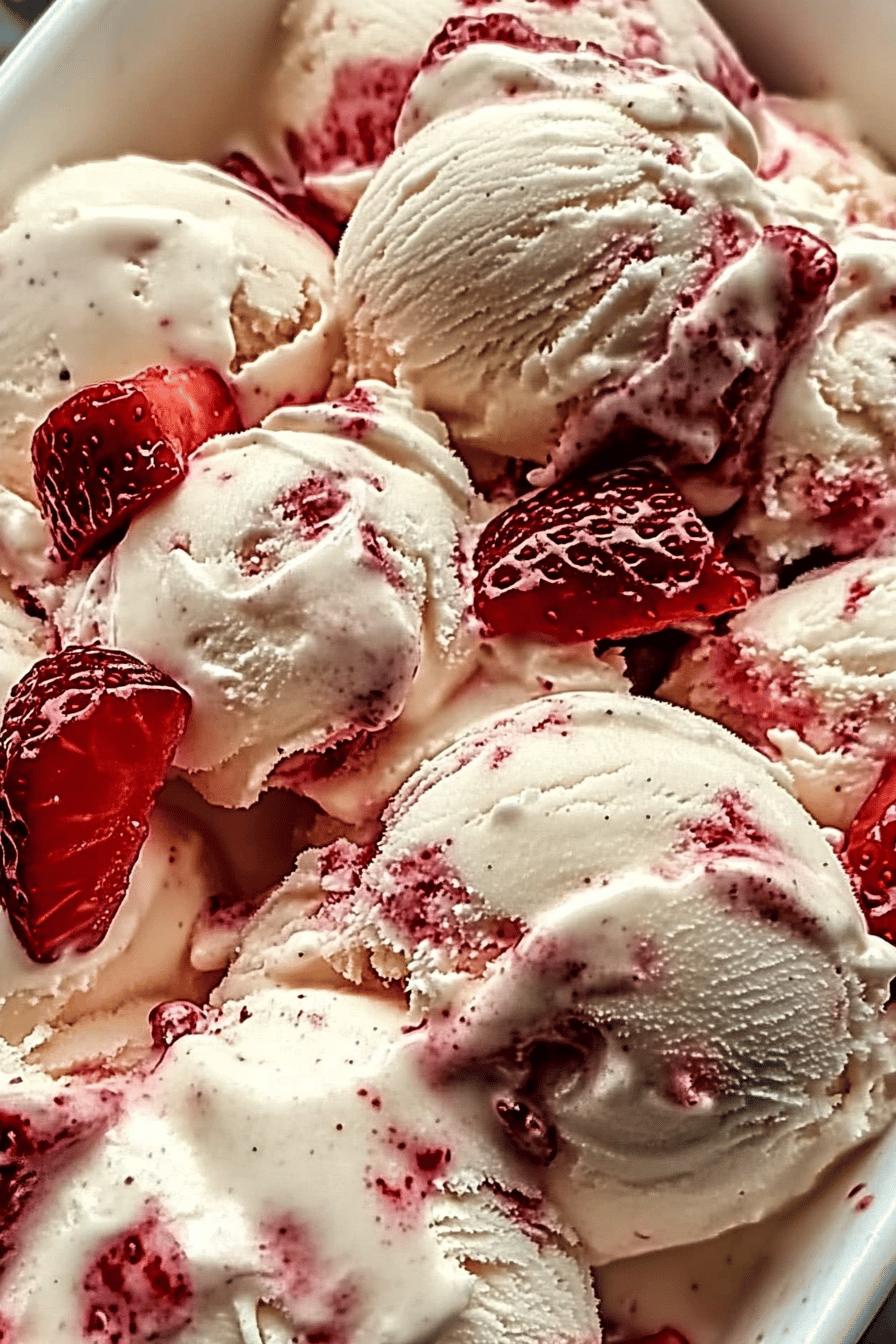
Introduction to Homemade Strawberry Vanilla Bean Ice Cream
There’s something magical about homemade ice cream. The process is not just about creating a delicious treat; it’s about the joy of crafting something special with your own hands. Homemade Strawberry Vanilla Bean Ice Cream is a perfect example of this joy. With its creamy texture and vibrant flavors, it brings a smile to everyone’s face.
The Joy of Making Ice Cream at Home
Making ice cream at home is an experience filled with fun and creativity. You can choose your favorite ingredients and customize flavors to suit your taste. Plus, the satisfaction of enjoying a treat you made yourself is unmatched. Imagine the delight of scooping out a bowl of your very own Strawberry Vanilla Bean Ice Cream on a hot summer day!
Not only is homemade ice cream fresher, but it also allows you to control the ingredients. You can avoid artificial flavors and preservatives, making it a healthier option. The process can be a wonderful family activity, too. Kids love to help mix ingredients and watch as the ice cream churns. It’s a great way to bond and create lasting memories.
So, gather your ingredients and get ready to embark on a delightful journey of making Homemade Strawberry Vanilla Bean Ice Cream. You’ll be amazed at how simple it is to create this creamy, fruity dessert that everyone will adore!
Ingredients for Homemade Strawberry Vanilla Bean Ice Cream
To create your own batch of Homemade Strawberry Vanilla Bean Ice Cream, you’ll need a few simple yet high-quality ingredients. Each component plays a vital role in achieving that creamy texture and delightful flavor. Here’s what you’ll need:
- 2 cups heavy cream: This is the base of your ice cream, providing richness and creaminess.
- 1 cup whole milk: Whole milk adds a smooth texture and balances the cream.
- 3/4 cup granulated sugar: Sugar sweetens the ice cream and helps create a soft texture.
- 1 vanilla bean: The star of the show! Fresh vanilla bean adds a deep, aromatic flavor.
- 1 cup fresh strawberries: Use ripe strawberries for the best flavor. They’ll create a beautiful swirl.
- 1 tablespoon lemon juice: This enhances the strawberry flavor and adds a touch of brightness.
- Pinch of salt: A little salt enhances all the flavors in your ice cream.
These ingredients are easy to find at your local grocery store. When selecting strawberries, look for ones that are bright red and fragrant. Fresh ingredients will make your ice cream taste even better!
Now that you have your ingredients ready, you’re one step closer to enjoying a delicious homemade treat. Let’s move on to the next section, where we’ll guide you through the step-by-step preparation of this delightful ice cream.
Step-by-Step Preparation of Homemade Strawberry Vanilla Bean Ice Cream
Now that you have gathered all your ingredients, it’s time to dive into the fun part: making your Homemade Strawberry Vanilla Bean Ice Cream! Follow these simple steps to create a creamy, dreamy dessert that will impress your family and friends.
Step 1: Prepare the Vanilla Bean Ice Cream Base
Start by making the vanilla bean ice cream base. In a medium saucepan, combine the heavy cream, whole milk, and granulated sugar. Stir the mixture over medium heat until the sugar dissolves completely. This should take about 5 minutes. Be careful not to let it boil!
Next, take your vanilla bean and slice it lengthwise. Use the back of a knife to scrape out the tiny seeds. Add both the seeds and the empty pod to the saucepan. This will infuse your ice cream with a rich vanilla flavor. Remove the saucepan from heat and let it cool for about 15 minutes. This allows the flavors to meld beautifully.
Step 2: Create the Strawberry Swirl
While your vanilla base cools, it’s time to prepare the strawberry swirl. Rinse the fresh strawberries and remove the stems. Place them in a blender or food processor along with the lemon juice. Blend until smooth, but leave a few small chunks for texture. This will create a delightful swirl in your ice cream.
Once blended, taste the strawberry mixture. If you prefer it sweeter, feel free to add a little sugar. Set the strawberry swirl aside while you finish the ice cream base.
Step 3: Combine and Churn
After your vanilla base has cooled, remove the vanilla pod. Pour the mixture into an ice cream maker. Churn according to the manufacturer’s instructions. This usually takes about 20-25 minutes. The ice cream will start to thicken and become creamy.
When the ice cream is almost done churning, slowly drizzle in the strawberry swirl. Use a spatula to gently fold it in, creating beautiful ribbons of strawberry throughout the vanilla ice cream. Be careful not to overmix; you want to see those lovely swirls!
Step 4: Freeze the Ice Cream
Once you’ve combined the ice cream and strawberry swirl, transfer the mixture to an airtight container. Smooth the top with a spatula and cover it tightly. Place the container in the freezer for at least 4 hours, or until the ice cream is firm. This step is crucial for achieving that perfect scoopable texture.
And there you have it! Your Homemade Strawberry Vanilla Bean Ice Cream is now ready to be enjoyed. Just scoop it into bowls or cones, and get ready to indulge in a delicious treat!
Variations of Homemade Strawberry Vanilla Bean Ice Cream
While the classic Homemade Strawberry Vanilla Bean Ice Cream is a delightful treat on its own, there are many fun variations you can try! These alternatives allow you to explore different flavors and cater to various dietary preferences. Let’s dive into some exciting options!
Alternative Fruit Swirls
If you’re looking to mix things up, consider using other fruits for your swirl. Here are a few delicious options:
- Raspberry Swirl: Fresh raspberries create a tangy and vibrant swirl. Simply blend them with a bit of sugar and lemon juice, just like the strawberries.
- Mango Swirl: For a tropical twist, use ripe mangoes. Blend them until smooth and add to your ice cream base for a sunny flavor.
- Peach Swirl: Fresh peaches offer a sweet and juicy addition. Blend them with a touch of vanilla for a delightful summer treat.
- Blueberry Swirl: Blueberries add a burst of color and flavor. Cook them down with a little sugar to create a thick, sweet swirl.
Feel free to experiment with your favorite fruits! Each one brings its unique taste and character to the ice cream, making it a fun adventure in the kitchen.
Dairy-Free Options
For those who are lactose intolerant or prefer a dairy-free lifestyle, you can still enjoy this delicious ice cream! Here’s how to make a dairy-free version:
- Coconut Milk Base: Replace heavy cream and whole milk with full-fat coconut milk. This will give your ice cream a rich and creamy texture.
- Almond Milk Base: Use unsweetened almond milk for a lighter option. Combine it with coconut cream for added creaminess.
- Cashew Cream Base: Soak cashews in water, then blend them with a bit of almond milk. This creates a smooth and creamy base.
When making a dairy-free version, ensure that your vanilla bean and any additional ingredients are also dairy-free. You can still create a delightful strawberry swirl using fresh strawberries or any other fruit of your choice!
These variations not only cater to different tastes but also allow you to enjoy homemade ice cream in a way that suits your dietary needs. So, get creative and have fun experimenting with flavors!
Cooking Note for Homemade Strawberry Vanilla Bean Ice Cream
When making Homemade Strawberry Vanilla Bean Ice Cream, a few cooking notes can help ensure your ice cream turns out perfectly every time. These tips will guide you through the process and enhance your overall experience.
First, always use fresh ingredients. Fresh strawberries are key to achieving that vibrant flavor and beautiful color. Look for strawberries that are bright red and firm. If they smell sweet, they’re likely ripe and ready to use!
Next, when preparing the vanilla bean, be gentle. Slice it carefully to avoid losing any of the precious seeds. The seeds are what give your ice cream that rich, aromatic vanilla flavor. Don’t forget to add the empty pod to the mixture as well; it infuses even more flavor!
Temperature matters, too. Make sure your ice cream maker is properly chilled before use. If it’s not cold enough, your ice cream may not churn properly, resulting in a less creamy texture. Most ice cream makers require the bowl to be frozen for at least 24 hours before use.
While churning, keep an eye on the consistency. You want it to be thick and creamy, but not too hard. If it seems too soft, you can churn it a bit longer. Just be careful not to overdo it, as this can lead to a grainy texture.
Lastly, patience is key when freezing your ice cream. After churning, allow it to freeze for at least 4 hours. This step is crucial for achieving that perfect scoopable texture. If you try to scoop it too soon, it may be too soft and messy.
By following these cooking notes, you’ll be well on your way to creating a delightful batch of Homemade Strawberry Vanilla Bean Ice Cream that everyone will love. Enjoy the process and the delicious results!
Serving Suggestions for Homemade Strawberry Vanilla Bean Ice Cream
Now that you’ve made your delicious Homemade Strawberry Vanilla Bean Ice Cream, it’s time to think about how to serve it! This creamy treat is delightful on its own, but with a few creative serving suggestions, you can elevate your dessert experience. Let’s explore some fun ways to enjoy your ice cream!
Pairing with Toppings
Toppings can take your ice cream to the next level. Here are some tasty options to consider:
- Fresh Fruit: Add slices of fresh strawberries, blueberries, or raspberries on top for a burst of flavor and color.
- Chocolate Sauce: Drizzle warm chocolate sauce over your ice cream for a rich and indulgent treat.
- Whipped Cream: A dollop of whipped cream adds a light and fluffy texture that complements the creaminess of the ice cream.
- Nuts: Chopped almonds, walnuts, or pecans provide a crunchy contrast to the smooth ice cream.
- Sprinkles: Colorful sprinkles can make your dessert more fun, especially for kids!
Feel free to mix and match these toppings to create your perfect bowl of ice cream. The combination of flavors and textures will make each scoop exciting!
Serving in Creative Ways
Serving your ice cream in unique ways can make it even more enjoyable. Here are some creative ideas:
- Ice Cream Sundae: Layer your ice cream with toppings in a tall glass for a beautiful sundae. Add a cherry on top for the classic touch!
- Ice Cream Sandwich: Use cookies or brownies to create delicious ice cream sandwiches. Just scoop the ice cream between two cookies and enjoy!
- Milkshake: Blend your ice cream with a splash of milk for a creamy milkshake. Top it with whipped cream and a straw for a fun drink.
- Fruit Cups: Serve scoops of ice cream in halved fruit, like peaches or pineapples, for a refreshing and healthy twist.
- Waffle Cones: Serve your ice cream in waffle cones for a classic treat. You can even dip the cones in chocolate for extra flavor!
These serving suggestions not only enhance the presentation but also add layers of flavor to your Homemade Strawberry Vanilla Bean Ice Cream. Get creative and have fun with it!
Tips for Perfect Homemade Strawberry Vanilla Bean Ice Cream
Creating the perfect Homemade Strawberry Vanilla Bean Ice Cream is an art that can be mastered with a few helpful tips. These suggestions will ensure that your ice cream turns out creamy, flavorful, and absolutely delightful every time you make it. Let’s dive into some essential tips!
First, always chill your ingredients. Before you start, place your heavy cream and whole milk in the refrigerator for a few hours. Cold ingredients help the ice cream churn better, resulting in a smoother texture.
Next, don’t skip the cooling step for your vanilla base. Allowing the mixture to cool for at least 15 minutes after heating helps the flavors develop. This step is crucial for achieving that rich vanilla taste that pairs beautifully with the strawberry swirl.
When blending your strawberries, consider the texture you want. If you prefer a chunkier swirl, pulse the strawberries a few times instead of blending them completely smooth. This will give your ice cream a delightful burst of fruitiness in every bite.
While churning, keep an eye on the consistency. If your ice cream maker has a window, watch for the moment it thickens. This usually takes about 20-25 minutes. If it seems too soft, let it churn a little longer, but be careful not to over-churn, as this can lead to a grainy texture.
After churning, transfer the ice cream to a container that is shallow and wide. This allows it to freeze evenly and makes scooping easier later on. Cover it tightly with a lid or plastic wrap to prevent ice crystals from forming.
Lastly, patience is key when it comes to freezing. Allow your ice cream to freeze for at least 4 hours before serving. This will ensure it reaches the perfect scoopable consistency. If you try to scoop it too soon, it may be too soft and messy.
By following these tips, you’ll be well on your way to creating a batch of Homemade Strawberry Vanilla Bean Ice Cream that is creamy, flavorful, and sure to impress. Enjoy the process and the delicious results!
Breakdown of Time for Homemade Strawberry Vanilla Bean Ice Cream
Understanding the time needed to make Homemade Strawberry Vanilla Bean Ice Cream can help you plan your dessert-making adventure. Here’s a simple breakdown of the time involved in each step of the process. This way, you can enjoy the experience without feeling rushed!
Prep Time
The prep time for this delightful ice cream is about 20 minutes. This includes gathering your ingredients, preparing the vanilla bean ice cream base, and creating the strawberry swirl. Make sure to have everything ready before you start, as it makes the process smoother and more enjoyable!
Cooking Time
Cooking time is relatively short, taking around 10 minutes. This is the time spent heating the cream, milk, and sugar mixture until the sugar dissolves. Remember to keep an eye on it to prevent boiling. After that, you’ll need about 20-25 minutes for churning in the ice cream maker. This is when the magic happens, and your ice cream starts to take shape!
Total Time
In total, you should plan for about 4 hours and 30 minutes to enjoy your Homemade Strawberry Vanilla Bean Ice Cream. This includes the prep and cooking time, plus the crucial freezing time of at least 4 hours. While it may seem like a long wait, the delicious reward is well worth it!
So, set aside some time, gather your loved ones, and enjoy the process of making this delightful treat. You’ll be savoring your homemade ice cream in no time!
Nutritional Information for Homemade Strawberry Vanilla Bean Ice Cream
Understanding the nutritional content of your Homemade Strawberry Vanilla Bean Ice Cream can help you enjoy it even more. While this treat is a delightful indulgence, knowing what’s in it can assist you in making informed choices. Here’s a breakdown of the key nutritional components:
Calories
One serving of Homemade Strawberry Vanilla Bean Ice Cream (approximately 1/2 cup) contains around 200-250 calories. This number can vary based on the specific ingredients used and the portion size. The rich cream and sugar contribute to the calorie count, but the fresh strawberries add a burst of flavor without too many extra calories.
Protein
Each serving provides about 3-4 grams of protein. The protein comes mainly from the heavy cream and whole milk used in the recipe. While this isn’t a high-protein dessert, it does offer a small amount that can be a nice addition to your overall daily intake.
Sodium
The sodium content in a serving of Homemade Strawberry Vanilla Bean Ice Cream is relatively low, typically around 50-70 milligrams. This is mainly due to the pinch of salt added to enhance the flavors. Keeping sodium levels low makes this dessert a more heart-healthy option compared to many store-bought varieties.
Overall, while Homemade Strawberry Vanilla Bean Ice Cream is a sweet treat, it can be enjoyed in moderation as part of a balanced diet. The fresh ingredients and lack of preservatives make it a healthier choice compared to many commercial ice creams. So, scoop up a bowl and enjoy every creamy bite!
FAQs about Homemade Strawberry Vanilla Bean Ice Cream
Can I use frozen strawberries for this recipe?
Yes, you can use frozen strawberries for your Homemade Strawberry Vanilla Bean Ice Cream! Just make sure to thaw them slightly before blending. This will help you achieve a smooth consistency for the strawberry swirl. Keep in mind that using frozen strawberries may slightly alter the flavor and texture, but it will still be delicious!
How long does homemade ice cream last in the freezer?
Homemade ice cream can last in the freezer for about 2 to 3 weeks when stored properly. To keep it fresh, make sure to place it in an airtight container. This helps prevent ice crystals from forming and keeps your ice cream creamy. However, for the best flavor and texture, it’s best to enjoy it within the first week!
What can I do if my ice cream is too hard?
If your ice cream turns out too hard, don’t worry! Simply let it sit at room temperature for about 10-15 minutes before scooping. This will soften it enough to make serving easier. You can also try mixing in a little milk or cream to help adjust the texture if it’s still too hard after softening.
Can I make this ice cream without an ice cream maker?
Absolutely! If you don’t have an ice cream maker, you can still make Homemade Strawberry Vanilla Bean Ice Cream. After combining your ingredients, pour the mixture into a shallow dish and place it in the freezer. Every 30 minutes, stir the mixture with a fork to break up any ice crystals. Repeat this process for about 3-4 hours until it reaches a creamy consistency. It may take a bit longer, but the results will be just as tasty!
Conclusion on Homemade Strawberry Vanilla Bean Ice Cream
In conclusion, making Homemade Strawberry Vanilla Bean Ice Cream is a delightful experience that brings joy to both the creator and the lucky tasters. This creamy, fruity dessert is not only a treat for the taste buds but also a wonderful way to spend time with family and friends. The combination of rich vanilla bean ice cream and vibrant strawberry swirl creates a flavor explosion that is perfect for any occasion.
As you’ve learned, the process is simple and rewarding. With just a few high-quality ingredients and some easy steps, you can whip up a batch of this delicious ice cream right in your kitchen. Whether you choose to stick with the classic recipe or explore fun variations, the possibilities are endless. You can customize it to suit your taste or dietary needs, making it a versatile dessert for everyone to enjoy.
Remember, the key to perfect homemade ice cream lies in using fresh ingredients, allowing time for flavors to meld, and being patient during the freezing process. With these tips in mind, you’ll be well on your way to creating a creamy masterpiece that will impress your family and friends.
So, why wait? Gather your ingredients, roll up your sleeves, and embark on this sweet adventure. Homemade Strawberry Vanilla Bean Ice Cream is not just a dessert; it’s a celebration of flavors, creativity, and the joy of making something special. Enjoy every scoop, and don’t forget to share the love with those around you!
Relevant Recipes Link: